
The first thing I fell in love with, in what is now my house, was the garden. As soon as I walked through the gate for my first visit to Richard and Magda’s house, I thought to myself, “This is the garden of Paradise.” For so many years before retirement, I had not had a garden and on top of that, I had worked nights and was sleeping during daylight hours, so I was ecstatic to learn that my friends were selling their house. I now would not only have a garden, but the garden would be in a place that would never see snow nor the freezing temperatures of the north and plants and flowers would grow all year long.
Although I am such a bad “farmer” that I would starve to death if I had to make a living from this, I enjoy the small amount of edibles that I grow and when I have excess, I share it with my neighbors. Since I love coffee and there were three coffee trees on my property when I moved in, I decided to try my hand at harvesting and preparing my own coffee.
The coffee bean is actually at the center of a berry, called the coffee cherry. The skin is initially green, and when it turns red, it is ripe for picking. The pulp is very sweet and is full of caffeine. I have searched for quite some time to find any kind of recipe to make use of the pulp, but the resulting food or drink would contain so much caffeine, that I resigned myself to the fact that it is better used as compost.
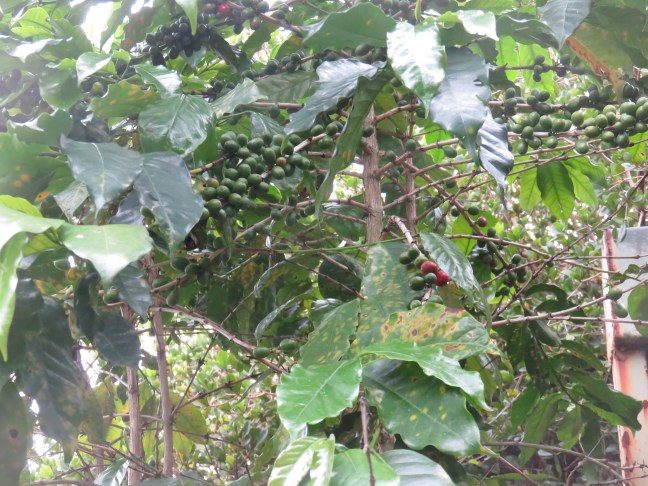
unripe green coffee cherries
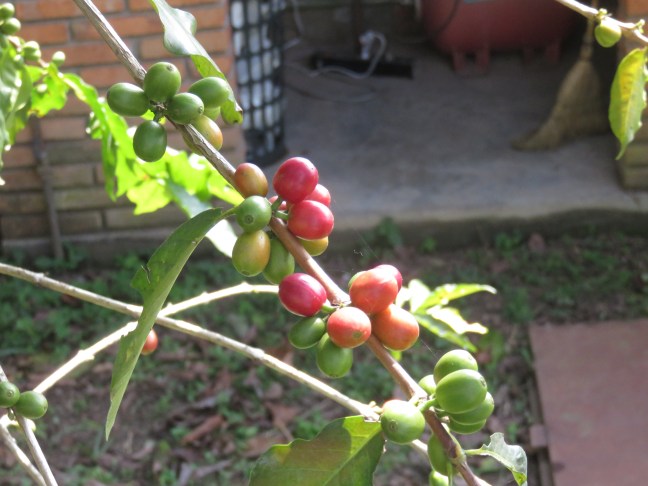
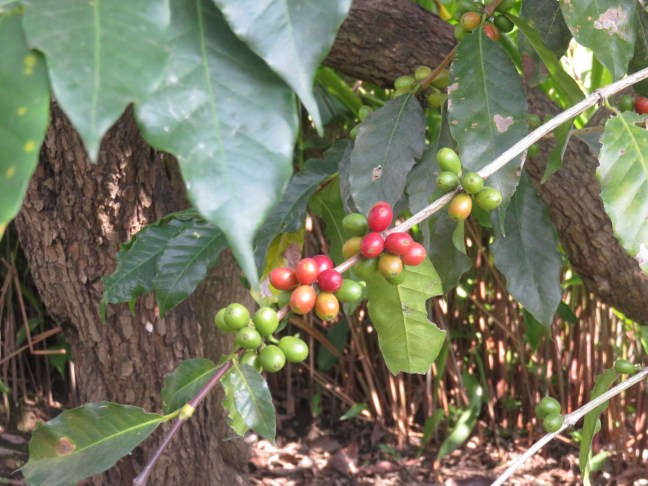
coffee cherries turning red as they ripen
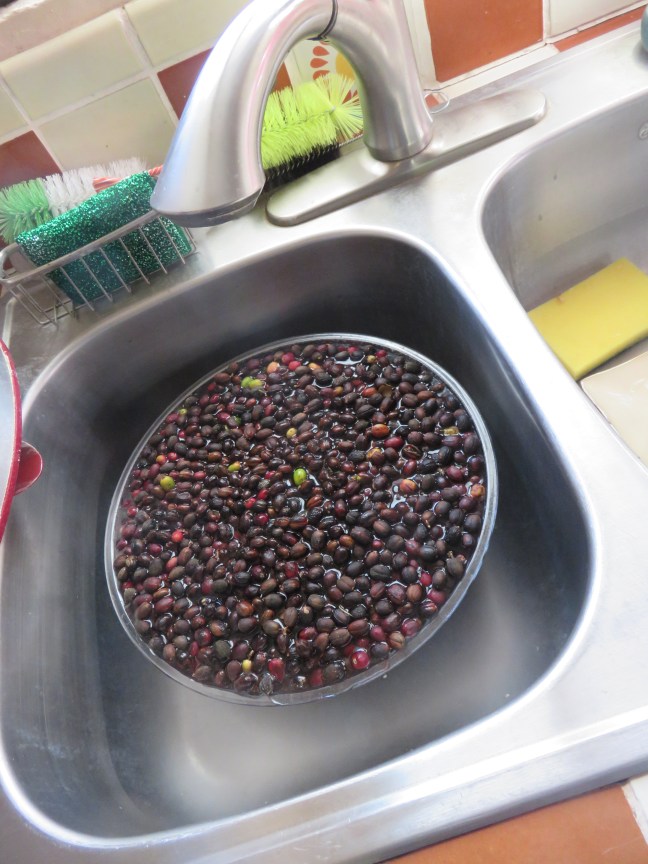
Coffee cherries being rinsed after harvesting.
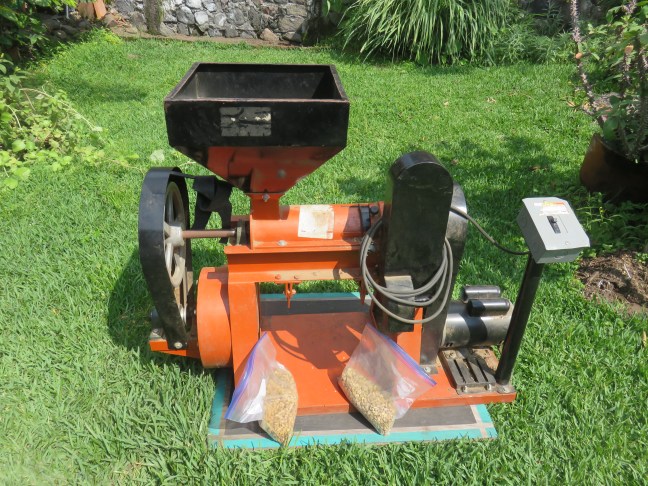
Once the coffee cherries are harvested from the trees, they need to be de-pulped. I don’t know how commercial coffee plantations do this, but for my personal operation, I went to my neighbor Gloria’s house and used her hand-cranked de-pulper.
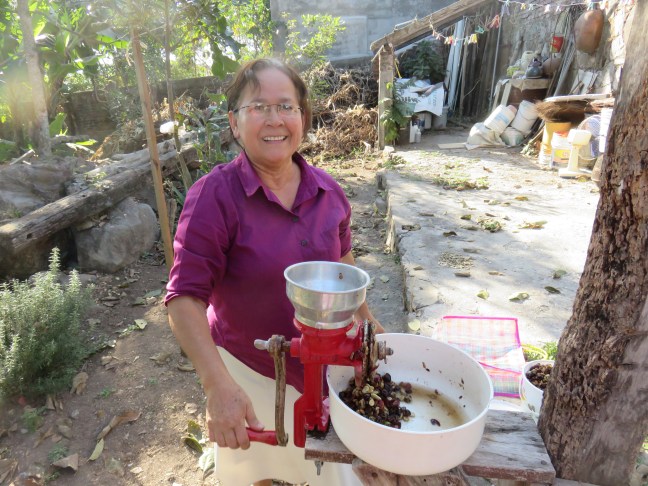
Gloria helping with the de-pulping of the coffee cherries
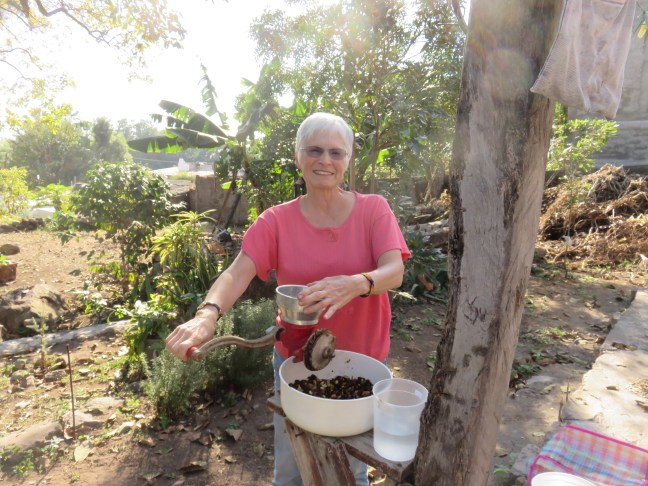
Taking my turn at the grinder. Note the container of water which helps with the process.
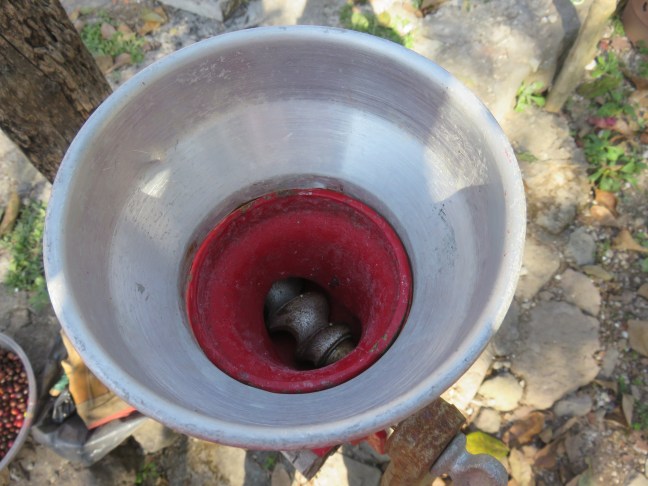
Top of the machine where we put the coffee cherries and water.
It reminded me of the meat grinder my parents used to use to make their own hamburger meat. The only difference is that I did not want to grind the cherries, only to de-pulp them. So we put the cherries into the top, and would grind them a little bit in one direction, then reverse direction, and then repeat the process so as to strip the pulp but not crush the beans themselves.

separating the remaining pulp and debris from the beans
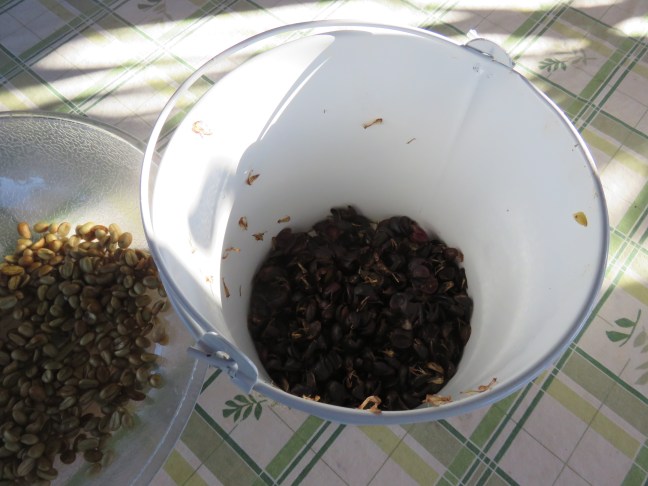
We would add water to the grinder to help with the process. The grinding process did not eliminate all the pulp, so after taking it home, I still had to remove a lot of the pulp by hand. There would also be bits of pebbles, leaves and other matter that needed to be removed, and it was quite a time-consuming process.
Once the beans were separated from the pulp, it was time to dry the beans in the sun. I wanted half to be caffeinated and half to be decaf, so the ones to be decaffeinated were left to soak in water for 24 hours. Both were then dried in the sun for 5 days. To tell which were which, I spread them on different colored materials and then put them in labeled baggies once they were dried.
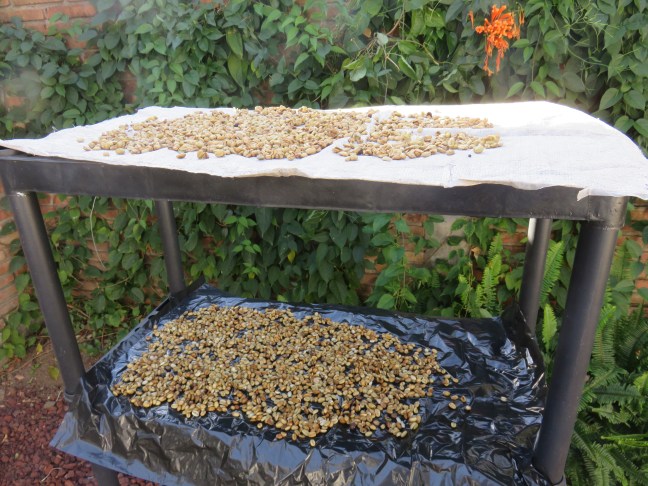
Drying in the sun after the pulp is removed.
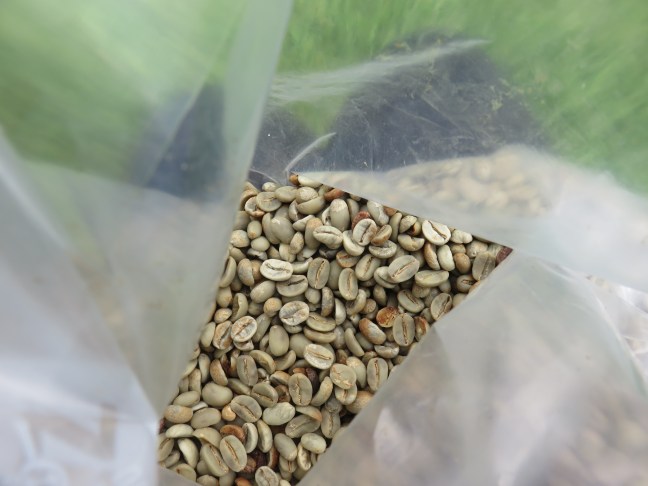
My neighbor Lourdes obtained a roaster to roast large quantities of the beans, and she said they would be happy to roast my coffee also. What I didn’t realize was that even after the pulp was removed, the beans still had a thin skin on them, called the cascara, and that the cascara also had to be removed before roasting.
Fortunately for me, they also had a machine to do that work. Honestly, I don’t know how the coffee growers managed all this labor-intensive work before electricity.

Beans falling into the bucket after the cascara is removed.
Lourdes’ husband Alfonso and her son Pedro removing the cascara and collecting the beans.
Cascara shooting out the side of the machine.
Bags of coffee beans minus the cascara
So Lourdes’ husband Alfonso and her son Pedro helped me with removing the cascara, and I am sure that what flew out of the machine was adding nutrients to their soil. The beans were dropped into the machine, the cascara was ejected forcefully from the side, and the beans dropped into a waiting bucket.
Now it was time to do the roasting, after any debris was once again removed. Just as with dried beans, there might always be tiny pebbles or other debris that need to be picked out.
The following photos and videos are of them processing large quantities of beans. With quantities that large, it takes about 40 minutes per batch to roast. I was too tired to show up when it came time for them to roast my paltry amount of beans, and my batch would take a lot less time. 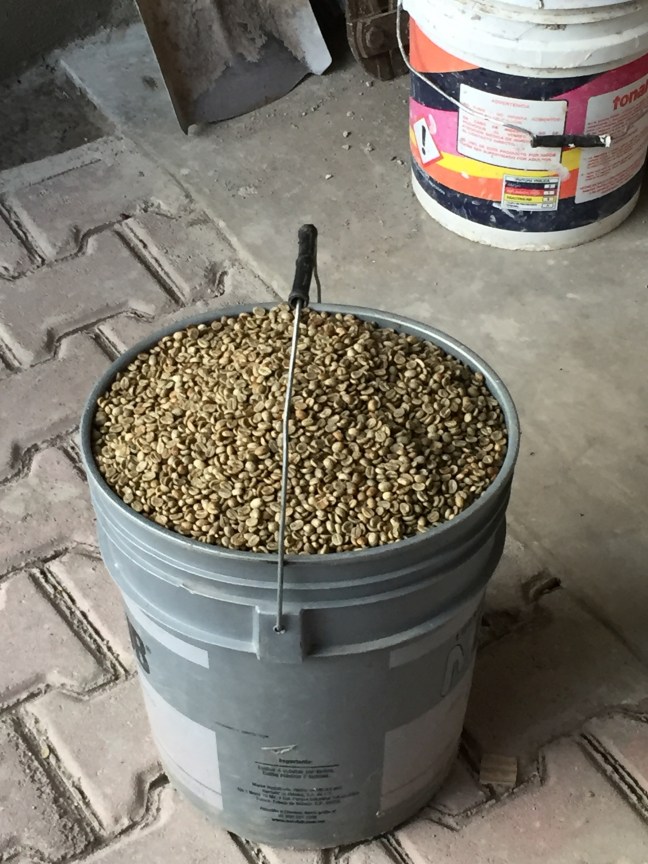
beans ready for roasting
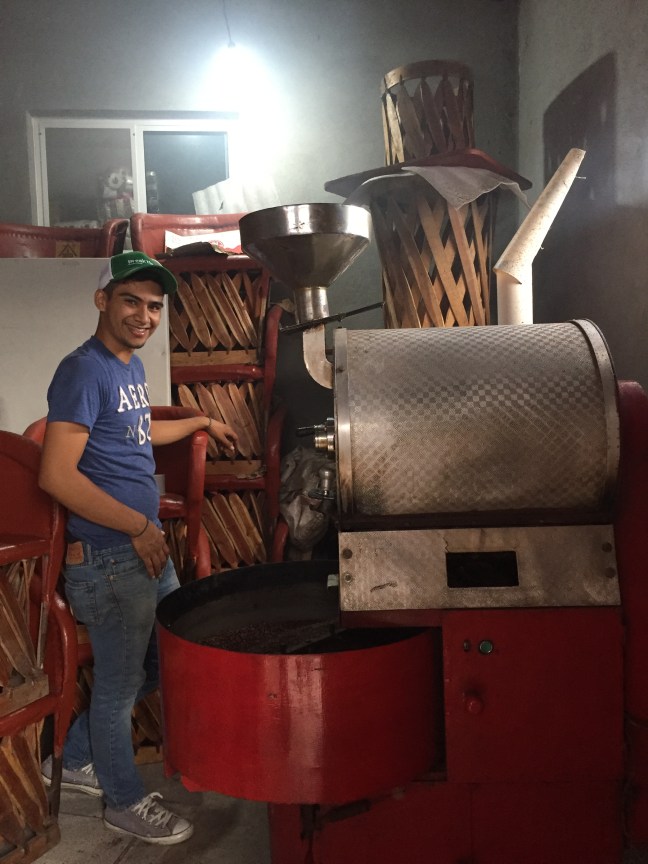
Pedro operating the roaster
First, the beans were dropped into the roaster, which rotated to roast them evenly. Then a valve was opened and they were stirred mechanically until they were cooled.
You can see the rotating drum above the flames where the coffee is roasted and the pan where they are mechanically stirred as they cool down.
Now that my coffee had been roasted, it was time to grind it. I did this at Lourdes’ house, then divided up the coffee into bags – one bag of decaf for Gloria, one bag each of decaf and caffeinated for Lourdes and one bag of caffeinated for me.
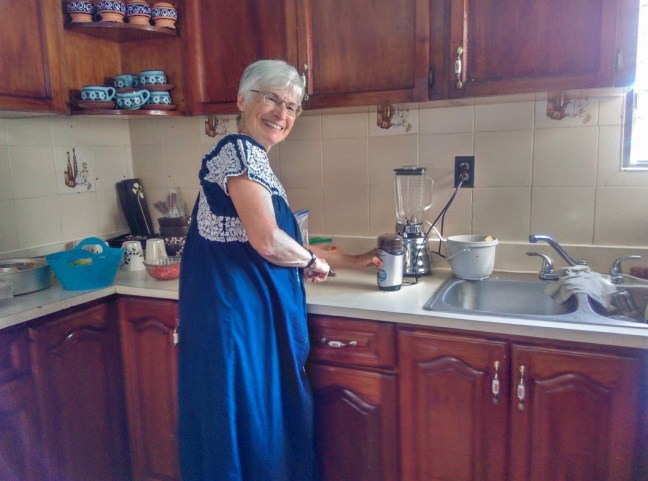
grinding the roasted beans
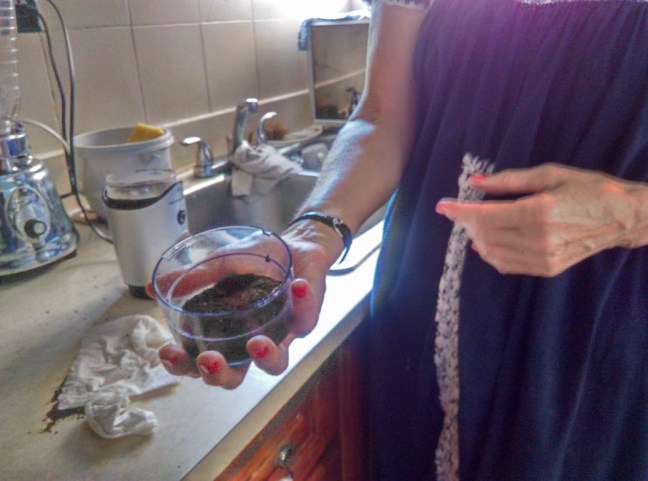
the finished product

bagged and ready to take to our respective homes
I thought it was delicious, but was wondering if I was biased, but Lourdes and Gloria assured me that my coffee was, in fact, delicious.
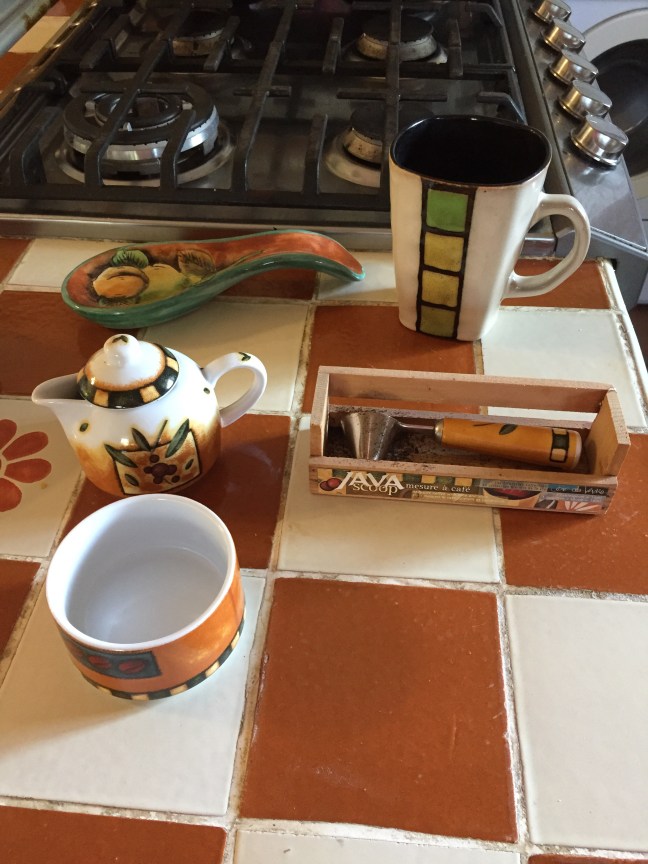
Getting ready to make some homemade coffee.
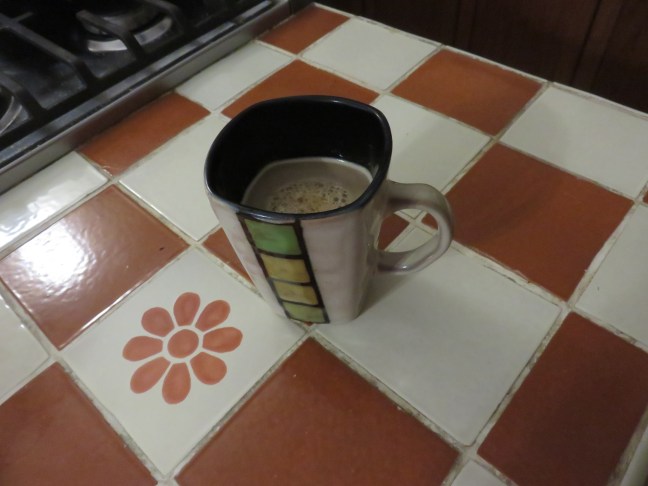
Mmmmmm! Heavenly caffeine!
Because it takes 8 lbs. of coffee cherries to make one pound of the finished product, I have planted 5 more trees, so I will have 8 coffee trees total. Currently, the five new ones are just saplings, so I don’t know how long it will be before they produce the cherries, but it will certainly be worth the wait.
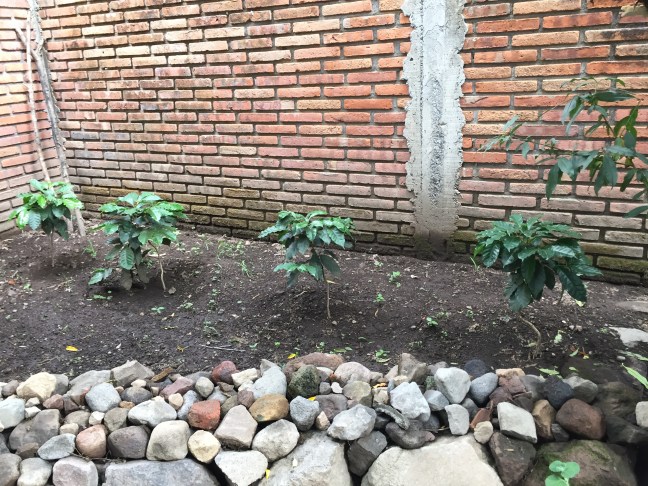

my newest coffee saplings
And so, I wish you all a good weekend and hope you have enjoyed learning about all the work that goes into providing you with your morning cup of caffeine. Until next time – ¡ Adiós !

Great fun!!
******************* Susan Hill Huizilacate #6 Cofradia de Suchitlan, CP 28460 Colima Tel in Mexico: +52 312-395-4146
In USA: 1701 Novato Blvd #302 Novato, CA 94947 Cel in USA: 415 755-8619 *********************
>
LikeLiked by 1 person
and lots of work, too !
LikeLike